Whether upgrading to a higher performance prop or replacing a damaged prop, knowing how to remove and change props is an important skill for all boat owners. Today we will be sharing how to change the prop on your inboard propeller in less than 10 minutes.
Difficulty Level: easy-moderate
Estimated Ttime: 10 minutes
What You Will Need:
New Propeller
Ratchet Set
Gloves
Socket Wrench
Prop Puller
Marker or Pencil
Follow the below step by step tutorial on removing your prop and installing your new prop in just a few minutes.
Step 1 : Buy a New Propeller
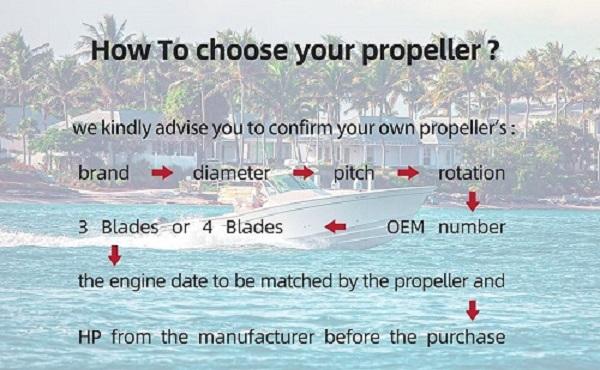
Boat propellers come in different sizes and pitches, and choosing the right size and pitch is essential for optimal performance and fuel efficiency. You should confirm your own proper pitch, rotation, diameter, OEM number and match the prop with your engine date and HP from the manufacturer before you purchasing prop. There are two types of propellers: steel and aluminum. Aluminum boat prop is economical. Fitting a larger diameter prop reduces the RPM of a motor and with it, the top-end speed. In contrast, the smaller diameter prop increases RPM and top-end speed. However, smaller props are more prone to slip and aren't as good for a boat's hole-shot or acceleration. Because of the many different prop pitch sizes available, it usually isn't necessary to change the diameter of your prop from what's recommended by your engine's manufacturer. Recommand Reading: Selecting a Propeller Guide: How To Choose The Right Prop For Your Boat

Step 2 : Buy a Prop Puller
Pick up a good prop puller at the supply store or buy it online as you will need this to remove the old propeller easily. A prop puller can save you more than half the time if you try to remove the propeller with your hands.
Step 3 : Mark the Position of the Old Propeller
Take a marker or pencil and mark the position of the old propeller before you take it off. This will help you know the correct position to install the new propeller.
Step 4 : Mark the Location on the Propeller Shaft
Mark the position of the old propeller on the shaft so that you will know how far the new propeller should go on the shaft.
Step 5 : Loosen the Nut
Begin to loosen the retaining nut to remove the old propeller. Use the ratchet and turn one blade at a time. Remember not to loosen the nut completely. In case the propellers get stuck, you can use the prop puller to remove the blades. This will make the job easier.
Step 6 : Remove the Propeller
Once you have loosened the retaining nut and the propeller is loose, remove the old propeller from the shaft by pulling it off.
Step 7 : Check for Damages
After removing the old propeller, check the shaft for any damages.
Step 8 : Check the Key Way
Check the key way for any damages before installing the new propeller.
Step 9 : Unpack the New Propeller
Unpack the new propeller from its package and keep the nuts ready.
Step 10 : Install the New Propeller
Slide your new propeller onto the shaft taking note of the course of the key way.
Step 11 : Position the Propeller
Use the markings you made earlier in step 3 to align the new propeller. Make sure your new propeller is in the right position and the right place on the shaft.
Step 12 : Fix the Nut
Once the new propeller is in the right place, use a wrench to tighten the nut onto the shaft. Make sure the nut is tightened well. That’s all that you need to do to get your new propeller fixed on your boat. The prop installation is completed, start your happy sailing now!


